You know how I’m always telling you that I’m not an activity mom? Well, lately God has been challenging some of my thinking and this area is one that is being challenged. Lately I have been more intentional to do more things with my kids because ultimately I want to build memories with my kids.
And guess what?
My kids are activities kids. Yeah. They love it.
So we have been doing more activities. This week we have made two ornaments with a third one on the schedule for next week. Today I have a book inspired ornament that is part of a fun project organized by the fabulous Melissa at Mama Miss.
She has organized 10 days of kid-made, book-inspired ornaments with quite a few bloggers, bringing the total to over 70 ornaments! Be sure to check them all out in her post.
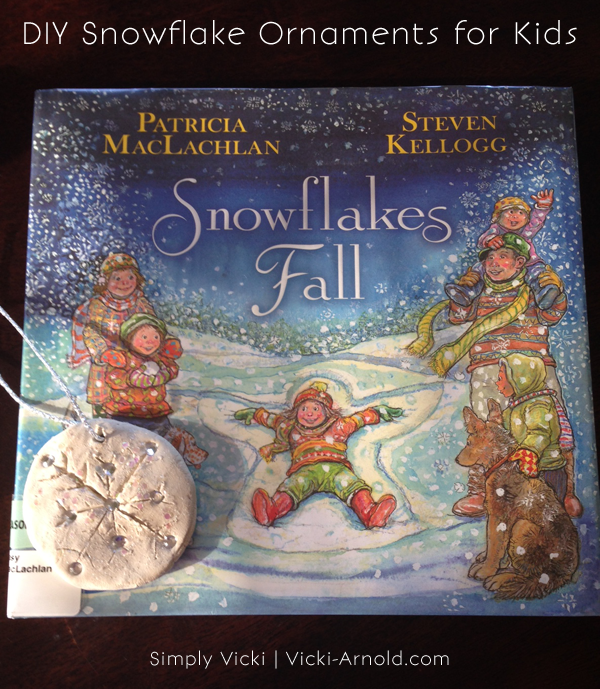
DIY Snowflake Ornament for Snowflakes Fall
The book we chose is called Snowflakes Fall by Patricia MacLachlan and was illustrated by Steven Kellogg. I didn’t realize it when I picked it up at the library, but it was written to provide a message of hope after the tragic shooting at Sandy Hook Elementary School in 2012.
The book does just that, reminding us of both the joy and the uniqueness of snowflakes. We paired this book with a book of photos of individual snowflakes for additional inspiration for our ornaments and the book The Story of Snow for some science learning.
We decided to make our own snowflakes for our ornaments. We had a blast decorating and, yes, I made one, too. I didn’t just take pictures.
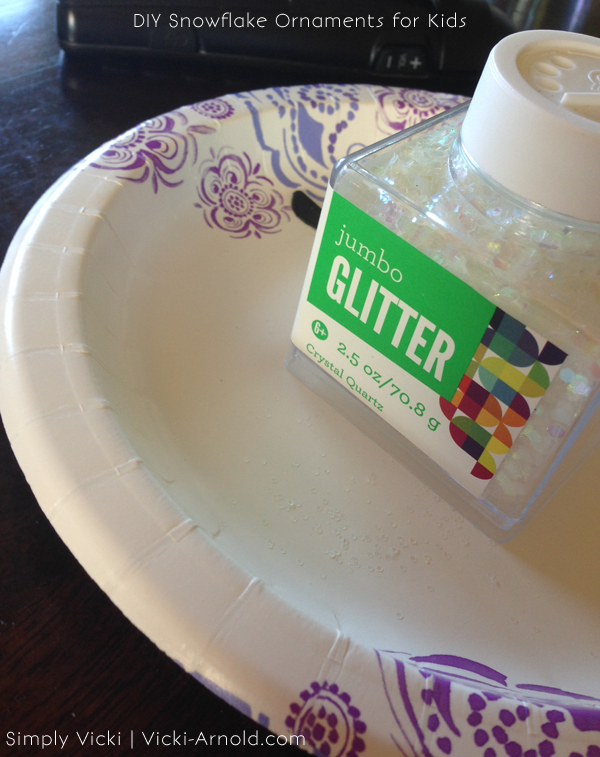
For our DIY snowflake ornaments, we used these supplies:
- Crayola Air Dry Clay
- various glitters
- acrylic gems
- toothpicks
- crafting cord (ribbon also works)
- paper plates for mess-control
Here is the simple process we used:
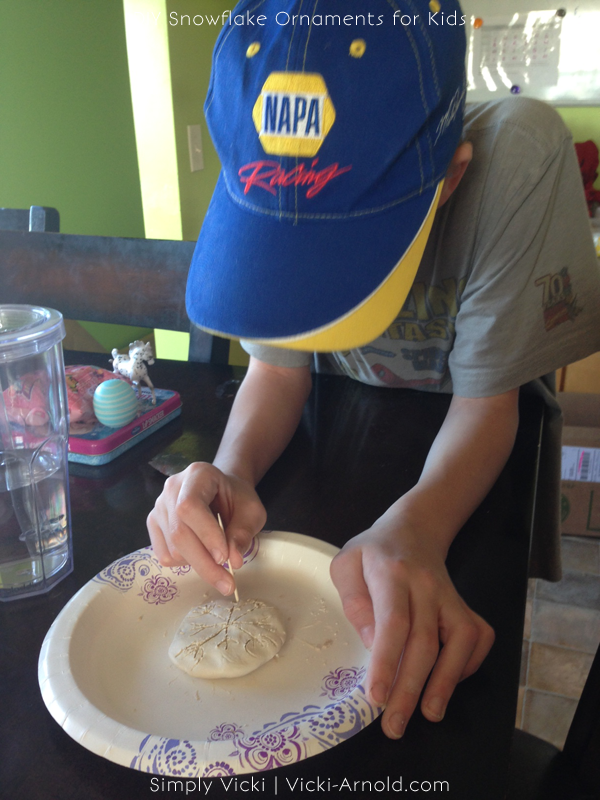
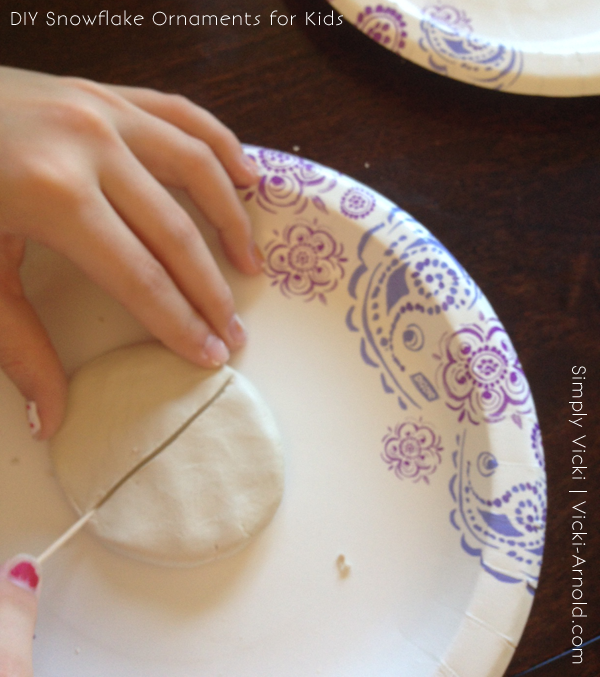
- Take a chunk of the clay and smooth it into a disc. You don’t want them too thin or your etching will go through and it won’t be too sturdy.
- Pick a spot to be the top and poke a hole with your toothpick. Swirl your toothpick around to make a whole big enough to string your craft cord or ribbon through.
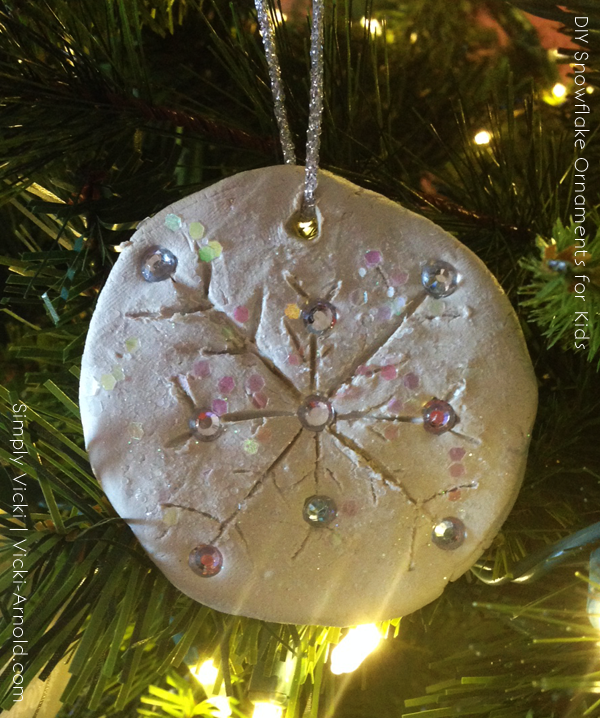
- Use your toothpick to etch your snowflake design in the clay. Don’t go all the way through the clay!
- Decorate your snowflakes with glitter, gems, sequins, or other crafting supplies.
- Let air dry until completely dry before stringing and hanging.
See? Crafting with kids doesn’t have to be complicated? It is sometimes messy, but hey, that’s life.
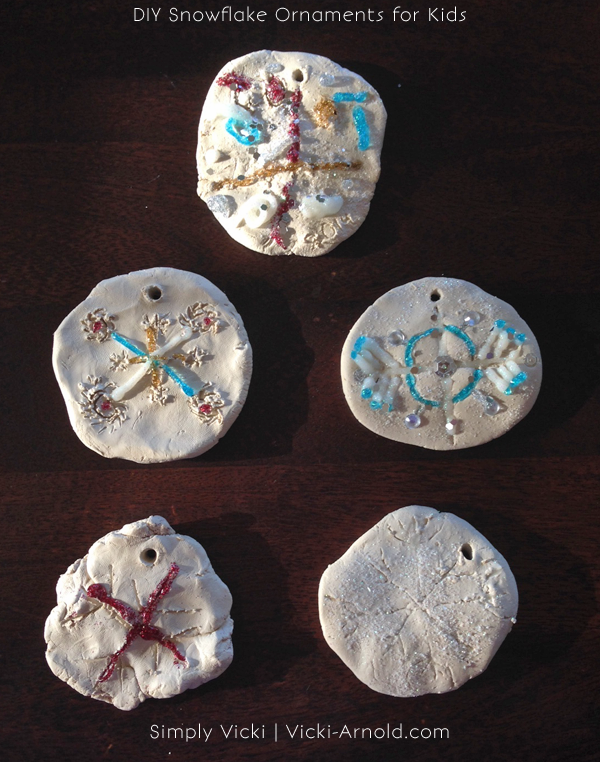
I love how unique the kids’ snowflakes turned out. The one on the bottom left was made by the two year old who was more interested in making things with the clay that weren’t snowflakes. Like “nustaches”. 😉
Be sure to check out the other ornaments that are going up today:
- Lovely Commotion
- Great Googa Moogas
- Mosswood Connections
- Mommy Loves Trees
- Mom Inspired Life
- My Nearest and Dearest
- Fireflies and Mud Pies
- The Life of Jennifer Dawn
- Mama Miss
Love these! I’ve never read the book before, but I recognized Steven Kellogg’s illustrations right away. I’ll have to look for this one!
These are awesome. We made clay ornament last year. These will be on the list for this year.
So pretty Vicki – love adding the details with a toothpick – great idea!