I am so excited about today’s post. For a long time here on the blog, my top posts have been my sewing tutorial round-ups. I love sewing. I’m not the greatest in the world at it, but I love it.
I also really, really love to shop for fabric. That’s probably my favorite part of any hobby really. I love all the possibilities. I love imaging all the fabrics (beads, papers, etc.) in various projects. I think most crafters can relate to that.
Earlier this year, I sent out a reader survey to my subscribers and the one thing they wanted above all was more DIY posts, specifically sewing tutorials. I was actually quite thrilled with this…and then I blanked. Ever have that happen?
To make this long story shorter, eventually I came up with some simple tutorials that I will be sharing over the next several months. Here’s where I should tell you to subscribe via email to make sure you don’t miss any of them, but that might seem too pushy so I won’t. 😉
Let’s dive on into this fat quarter bag tutorial!
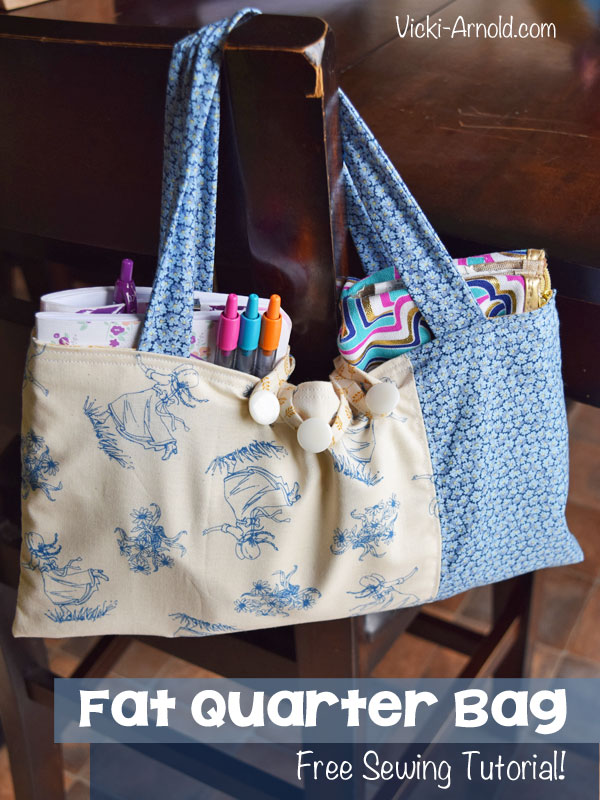
Fat Quarter Bag Tutorial
Supplies:
- 3 fat quarters – focal fabric, accent fabric, and lining fabric
- thread
- 1-3 buttons
- iron
- sewing machine (actually, I guess you could do this by hand…a machine is faster though)
1. Iron your fat quarters.

2. Cut your focal fabric into a large rectangle sized 18″ x 11″ (mine pictured is 9×11 because it is folded).


4. Press your seam flat.
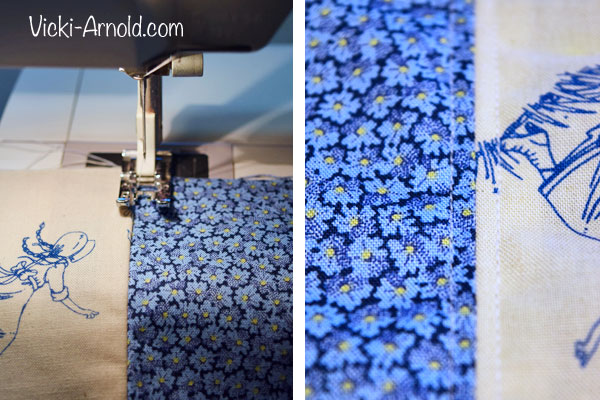
5. Top stitch down each side of the seam.
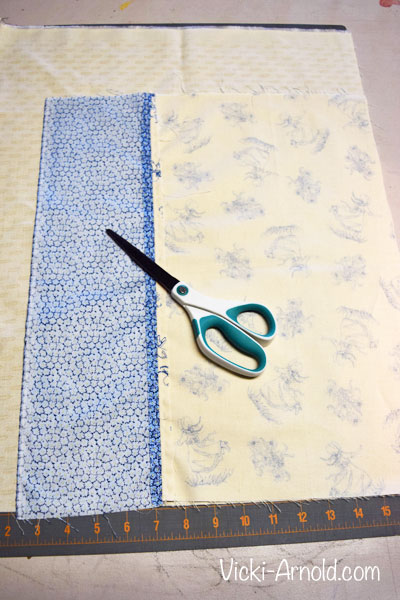
6. Cut liner fabric to the same size as your joined focal and accent fabrics.
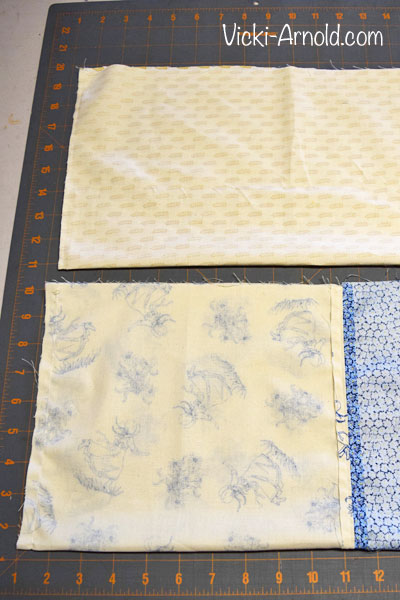
7. Fold both rectangles with the right sides together to form a 9″ x 15″ (approximate) pouch. Stitch up both sides of each pouch. Trim the edges of the liner to be closer to the stitches.

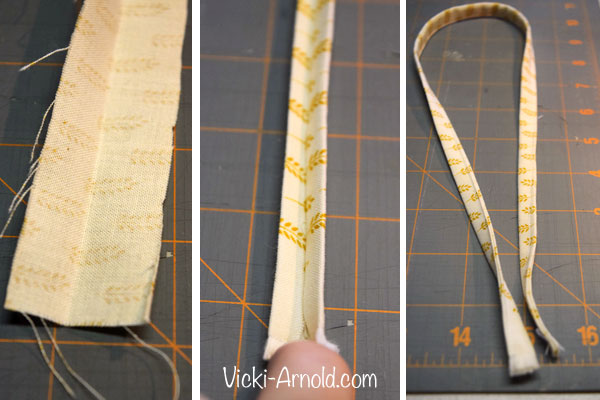
8. Cut a 5″ x 18″ rectangle out of your accent fabric, then cut it in half lengthwise.

9. Fold each strip in half lengthwise and stitch along the side. Turn the tube right side out and then press flat. These are your handles.

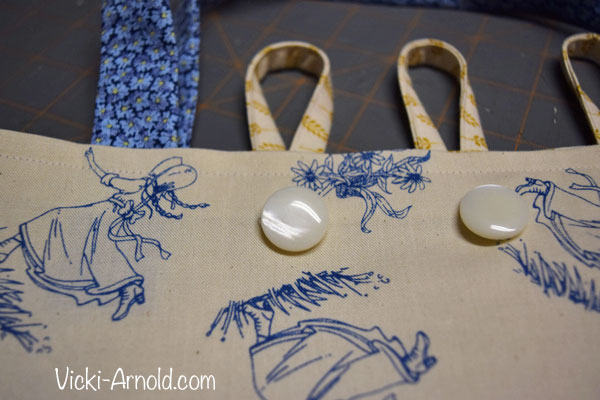
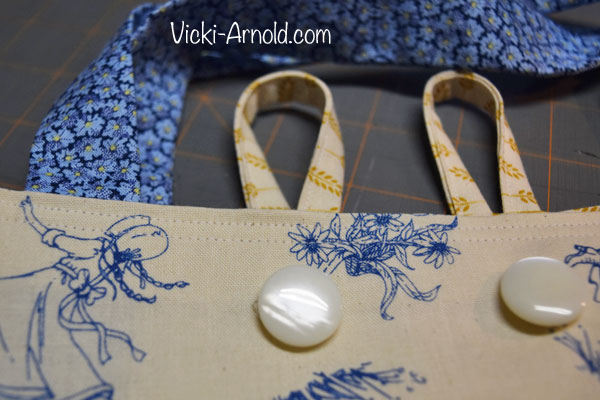
10. Attach your buttons on the front center your bag, approximately 1 1/2″ to 2″ from the top of the fabric.
11. Cut a long strip of the liner fabric (1″x24″). Fold the fabric in half lengthwise and press with the iron. Fold each raw edge into the center of the fabric and press. This is a slightly tedious process, take your time. Stitch along the edge.

12. Cut into thirds (8″) and set aside.

13. Place your liner inside the outer fabric pouch. Be sure that the WRONG sides of the fabric are facing each other.

14. Fold the top of each section and press.

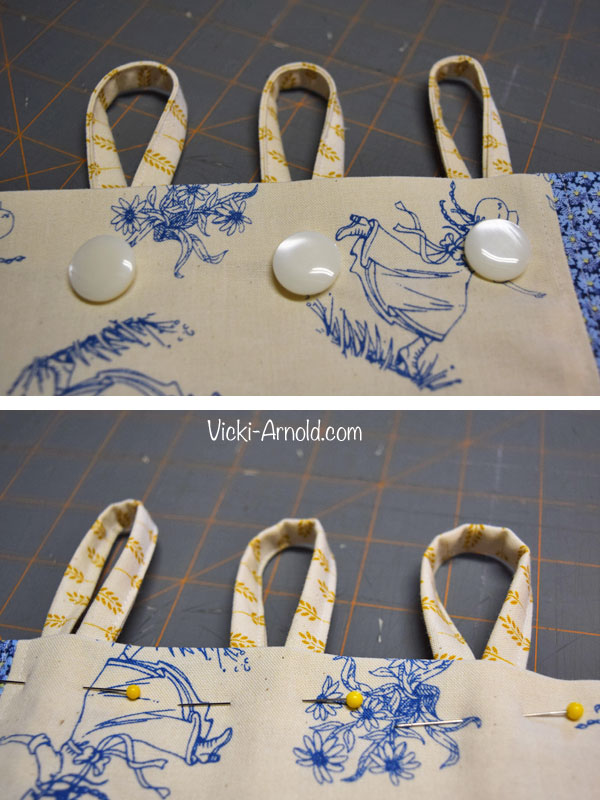
15. Take your narrow strips of liner fabric and make a loop. Place behind the buttons on the BACK side of your bag. These go in between the outer pouch and the liner. Pin in place.
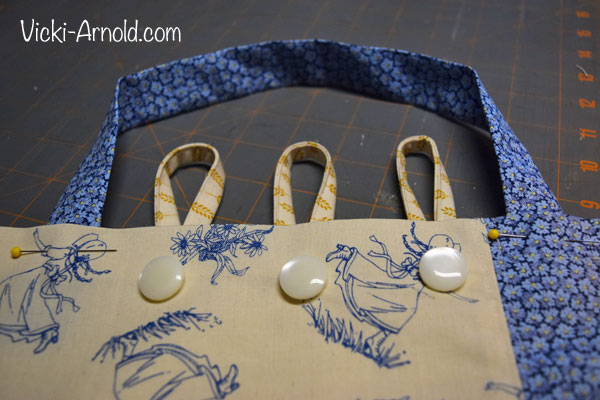
16. Place your handles the same as the button loops. You will put one on each the front and back of your bag. Pin these in place.
17. Carefully stitch around the top of your bag, making sure that all your pinned items stay straight.
18. Sew around the top of the bag again, this time closer to the edge.

19. Your bag is finished!
Little House on the Prairie
I don’t think it’s any secret around here that I love Little House on the Prairie®. I can’t tell you how excited I am that they have released a line of fabric with Andover fabrics. I jumped at the opportunity to receive a bundle of fat quarters from the line for this tutorial.
You can buy your own at a store near you. You can also enter to win a FABULOUS bundle below. It includes:
- A fat-quarter bundle of all three Little House on the Prairie® fabric collections
- A limited edition tote bag made of Little House on the Prairie® fabric
- The Deluxe Remastered “Little House on the Prairie” Complete Collection DVD Set
- “The Legacy of Laura Ingalls Wilder” DVD
- TheQuilting with Laura book
- The World of Little House book
Be sure to check out the Little House on the Prairie website for lots of Little House fun!
Leave a Reply